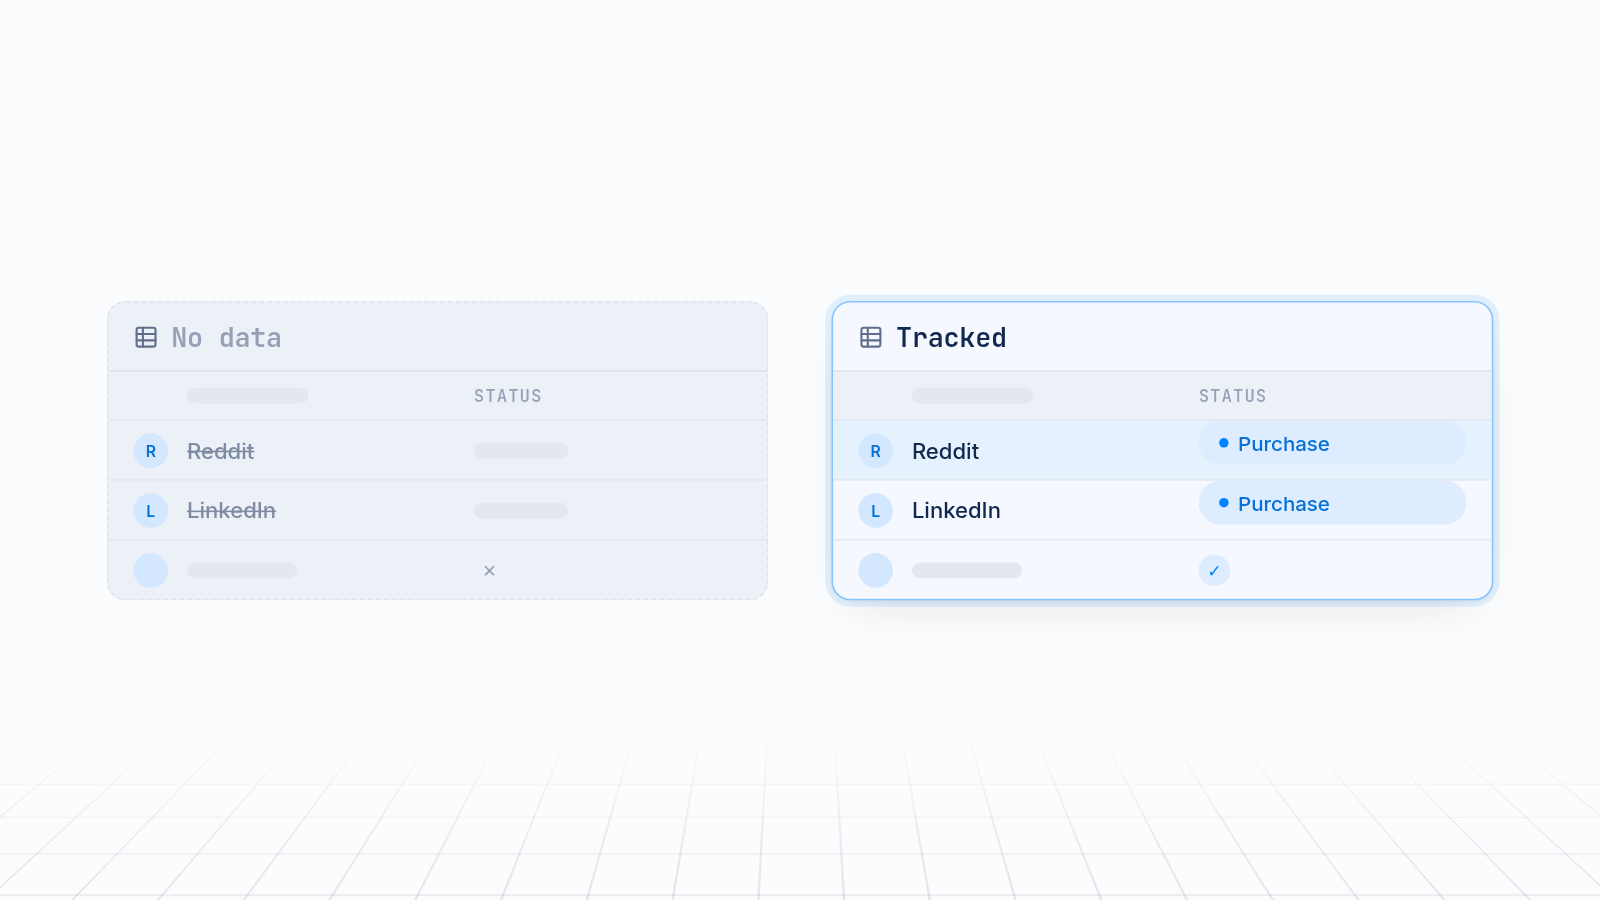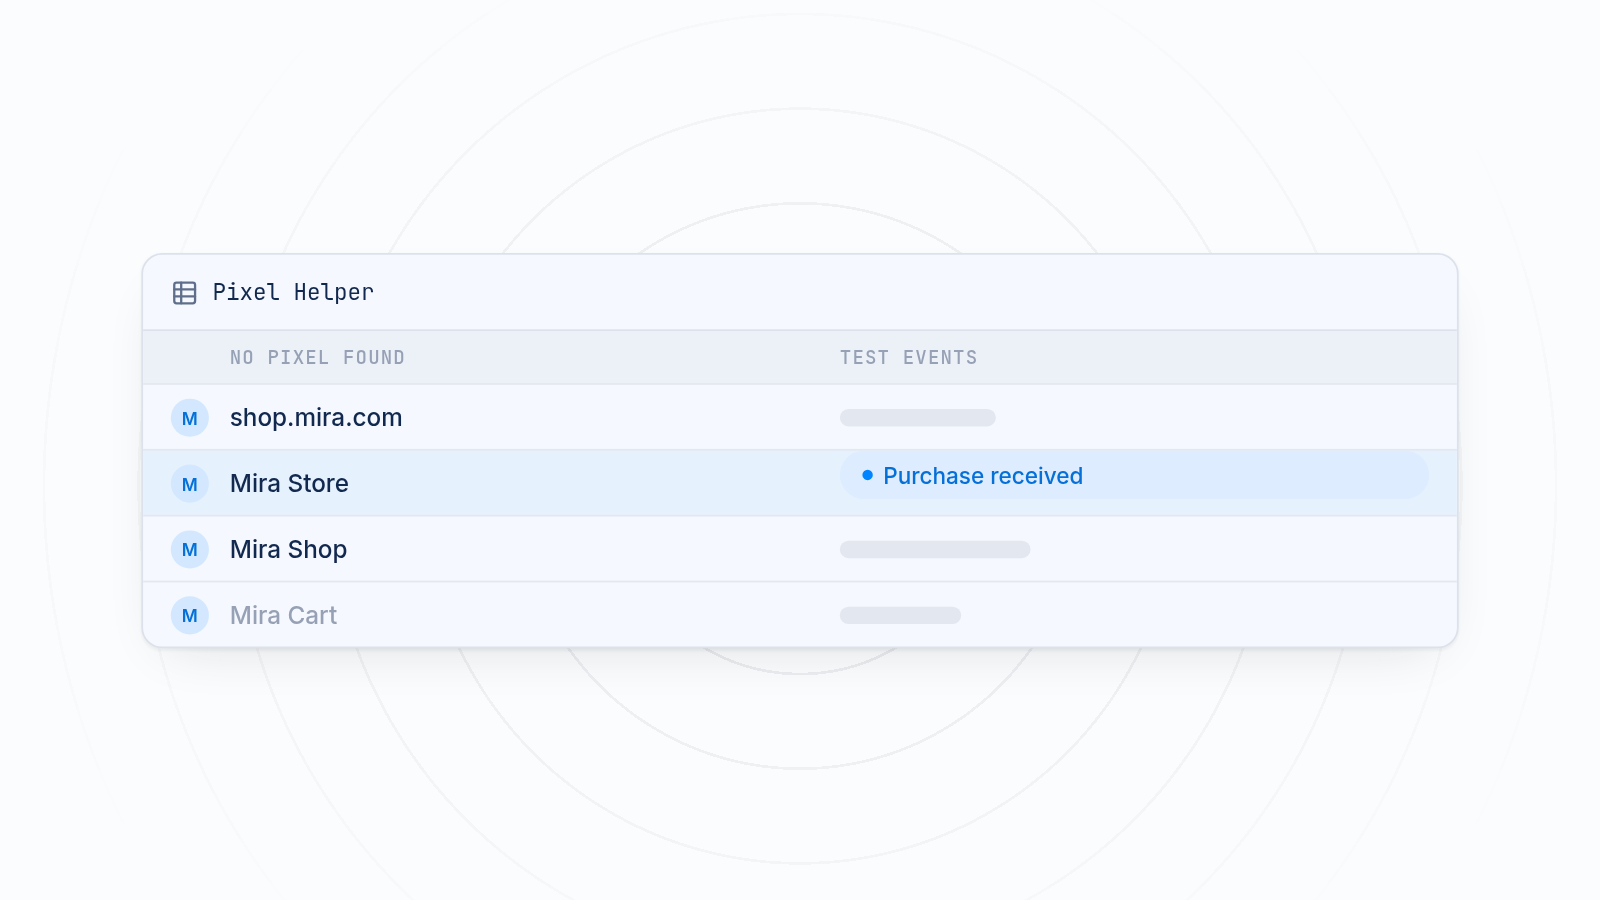
If the Meta Pixel Helper shows no pixel found on your Shopify store, your pixel may still be working. Shopify runs app and custom pixels in a protected sandbox, and the browser extension often can't see inside it. A blank result is a prompt to check. Use Events Manager test events, the Shopify pixel debugger and a real test order to find out.
Key takeaways
"No pixel found" or a lone PageView in Meta Pixel Helper does not mean your pixel is dead.
Shopify runs app and custom pixels in a sandbox that the extension often cannot see.
Three checks give a reliable answer: Events Manager test events, the Shopify pixel debugger and a real test order.
A working setup shows PageView, AddToCart and Purchase, each firing once.
Real failures usually come from duplicate pixels or a pixel that was never connected.
Is my Meta pixel working if Pixel Helper shows nothing?
Your pixel can still be working when Pixel Helper shows nothing. Meta Pixel Helper reads code that sits directly on the page. Many Shopify stores no longer load their pixel that way. The pixel runs in a separate, protected space, so the extension reports nothing even while events reach Meta.
A false alarm can push you into changes that really do break tracking. Owners paste code into the theme, add a second pixel or switch off a working app. Then ad spend goes to campaigns that can't learn from your sales, and your reports stop matching. If you're also seeing gaps in your numbers, our guide on how Meta pixel events are counted can help.
Test before you change anything.
Why Meta Pixel Helper can't see your Shopify pixel
Shopify isolates app and custom pixels from the storefront page. It does this to protect shopper privacy and keep checkout safe. The pixel still receives shopper actions and sends them to Meta. The extension just isn't allowed to look.
In practice you'll see one of these:
- A blank result. The extension says no pixel found, though events are reaching Meta.
- Only a PageView. The extension catches a basic event on the page but misses events that run in the sandbox, such as Purchase.
- Different results by page. Checkout pages are the most protected, so the extension is least likely to see anything there.
When this happens, nothing needs fixing. A better way to look is all you need.
Three reliable ways to check your pixel
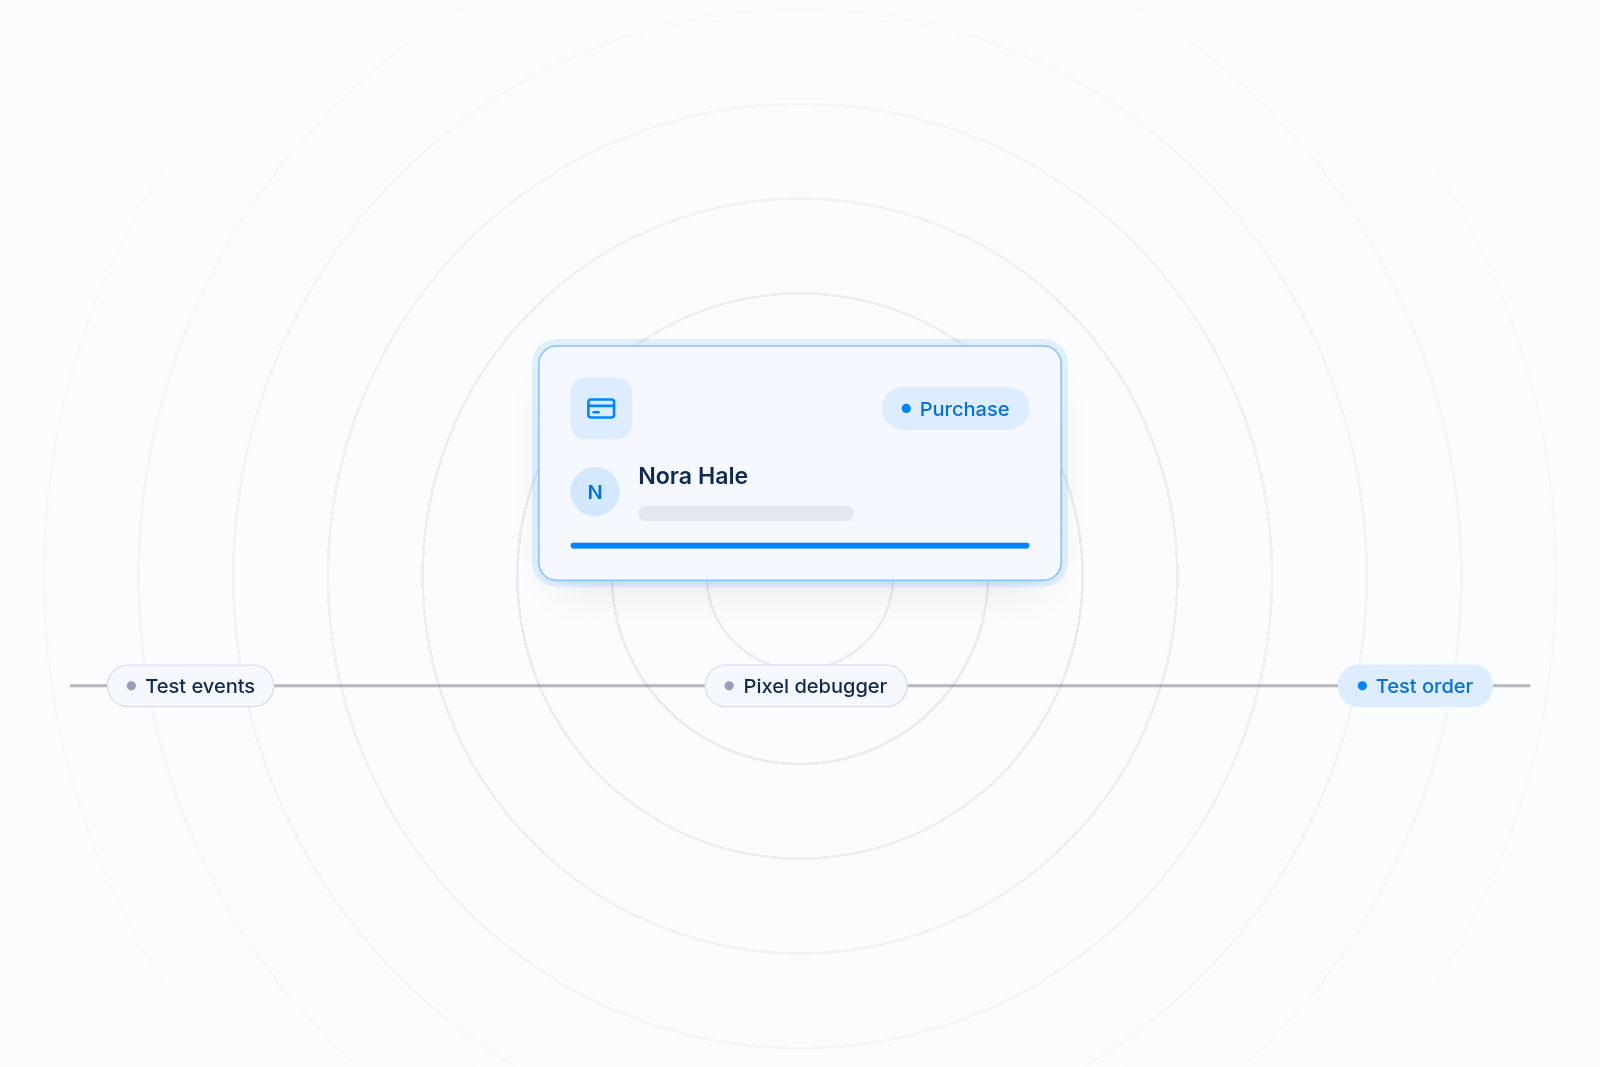
The three checks are Events Manager test events, the Shopify pixel debugger and a real test order. Each looks at your tracking from a different angle. Use all three if you want to be sure.
1. Meta Events Manager test events
Test events show what Meta actually receives from your store. This is the best proof, because it comes from Meta and not from a browser extension.
- Open Events Manager in your Meta account and choose your pixel.
- Go to the Test events tab.
- Enter your store address and open the link to your store in a new tab.
- Browse a few pages, view a product and add it to your cart.
- Watch the Test events tab. Each action should show up within moments.
If PageView and AddToCart appear, your pixel is working, whatever Pixel Helper says. If nothing appears, move to the next check.
2. The Shopify pixel debugger
The Shopify pixel debugger shows whether your store is sending events to the pixels you installed. It checks the Shopify side, so you learn whether the problem is on your store or on the Meta side.
- In Shopify admin, go to Settings > Customer events.
- Find your pixel in the list and check that its status says Connected.
- Open the pixel's details and look for the option to test or view its events.
- Browse your store and watch for events such as page viewed and product added to cart.
A pixel that is not connected will never send anything. If a connected pixel shows events here but not in Meta, the usual cause is a wrong pixel ID or a privacy setting that blocks it. Menu names change, so follow the closest match on your screen.
3. A real test order
A real test order is the final proof that Purchase reaches Meta. Purchase is the event that tells Meta which ads drive sales.
- Keep Test events open in Events Manager.
- Visit your store, add a product to your cart and go through checkout.
- Complete the order. Use a low-priced product, a discount code or a bogus gateway setup if you want to avoid a real charge.
- Check that Purchase appears in Test events with the right value and currency.
- Match it to the order in Shopify.
If your cookie banner asks for consent, accept it during the test. A pixel can stay quiet when a shopper declines tracking, and that can look like a failure.
What a working setup looks like
A working setup shows PageView, AddToCart and Purchase, each firing once at the right moment. Use this checklist after any test.
| Event | When it should fire | What to look for |
|---|---|---|
| PageView | On every page a shopper opens | Appears once per page, not twice |
| AddToCart | When a shopper adds a product | Appears once, with the product and value |
| Purchase | When an order is completed | Appears once, with order value and currency, matching Shopify |
Also confirm these points:
- One pixel per ID. Install the same pixel ID only once.
- Matching counts. One test order in Shopify should equal one Purchase in Meta.
- Values present. Purchase should carry the order total, so you can see what your ads return.
If all three events appear once and match, your tracking is sound. If your numbers still differ from Shopify Analytics over time, small gaps are normal, but large ones are worth chasing.
Common causes of real failures
Real failures usually come from duplicate pixels, missing pixels or a pixel that was never connected. Look for these if your tests show a problem.
- Duplicate pixels. The same pixel is installed through Shopify's Facebook channel, an app and the theme. Events double up and your results look inflated.
- Missing pixel. The pixel was never added, or the wrong ID was pasted. Meta receives nothing.
- Pixel not connected. A custom pixel is saved but not connected, so it never runs.
- Theme code that misses checkout. Code pasted into the theme can't see checkout pages. Purchase never reaches Meta.
- Consent settings blocking events. Privacy settings can hold back events until a shopper accepts tracking.
- Old code left behind. Code from an earlier app or agency still runs after you moved to a new setup.
Duplicates and missing pixels waste ad spend in opposite ways. Duplicates inflate numbers, so you back ads that look better than they are. Missing pixels hide sales, so good ads look like they fail.
How MultiPixels helps
MultiPixels lets you install and manage your Meta pixel without code, so you skip the manual steps that cause most failures. No code or tech team required. It also covers Instagram, TikTok, Snapchat, X and Pinterest from one dashboard, and it keeps a backup pixel running.
What it does:
- Installs pixels through Shopify's customer events, so nothing goes into your theme.
- Shows every installed pixel in one place, so a duplicate is easy to spot.
- Adds a backup pixel that keeps collecting data if an ad account runs into trouble.
- Helps you build custom and lookalike audiences from your store data.
What it doesn't do: it doesn't write your ads or replace your ad accounts, and it is a paid app once the trial ends. Plans are $9.99, $19.99 or $39.99 a month after a 10-day free trial. You can read more on the Facebook pixel page.
Even with an app, run the same three checks. Test events and a test order confirm that everything reached Meta.
Check your tracking with confidence
A blank Meta Pixel Helper doesn't mean your ad spend is wasted. Test events, the Shopify pixel debugger and a test order show what is really happening, so you fix real problems and leave working setups alone.
Install the MultiPixels app from Shopify to set up your pixels without code, and start your 10-day free trial.