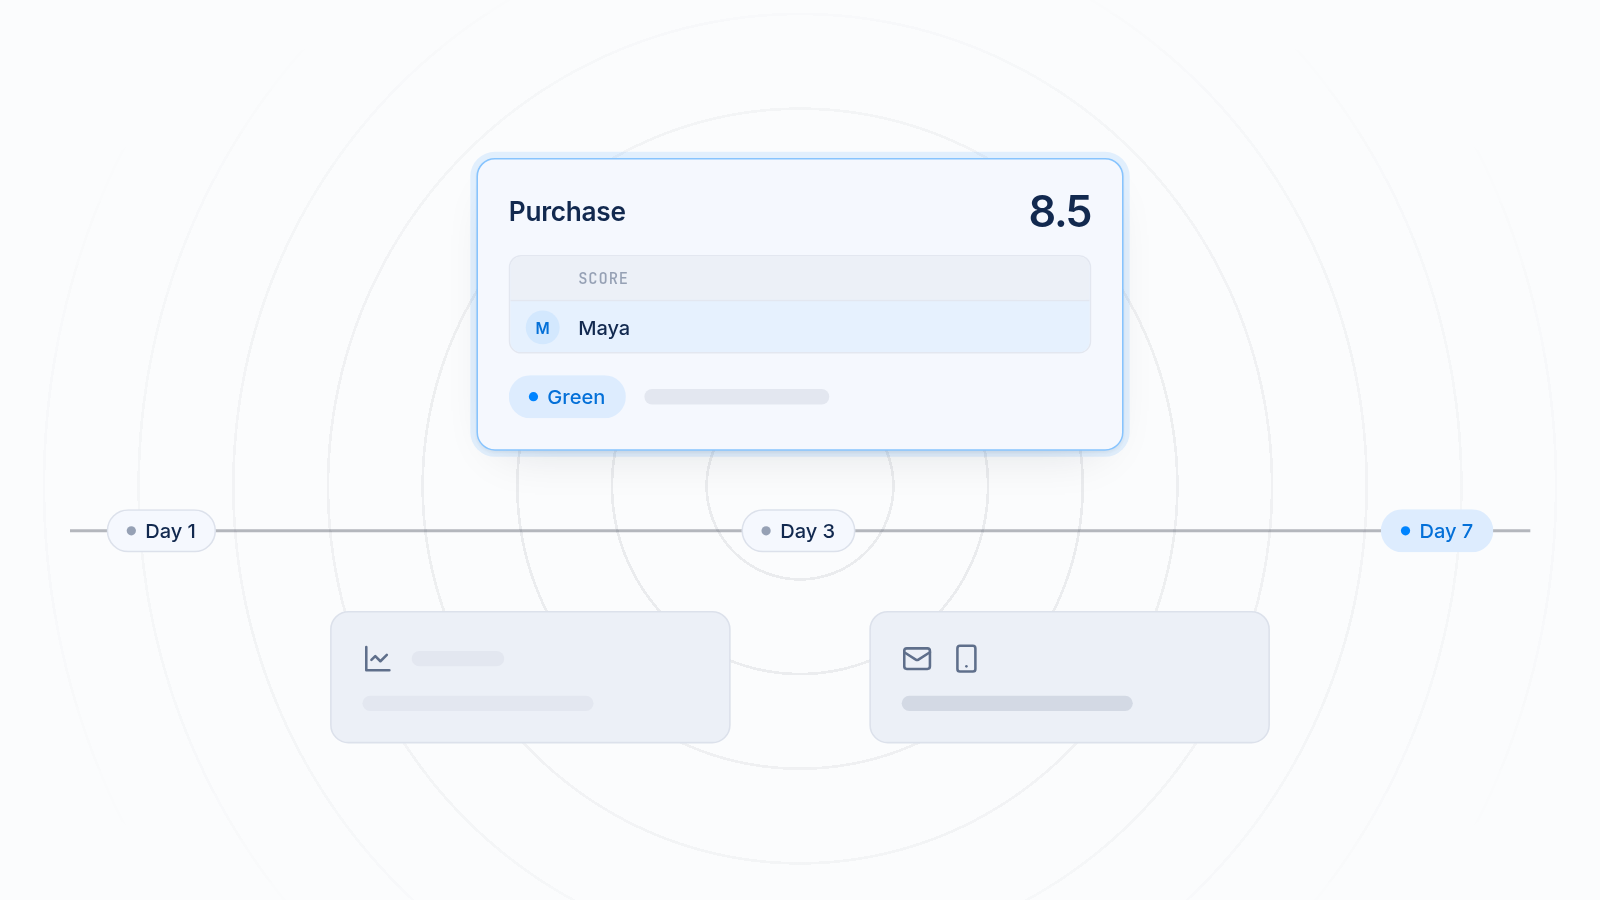
The Meta pixel is tracking code on your website that records what visitors do after seeing or clicking your Meta ads on Facebook, Instagram or Messenger. Using the Meta pixel lets you see which ads lead to sales, build audiences of past visitors, and let Meta show your ads to people more likely to buy.
Key takeaways
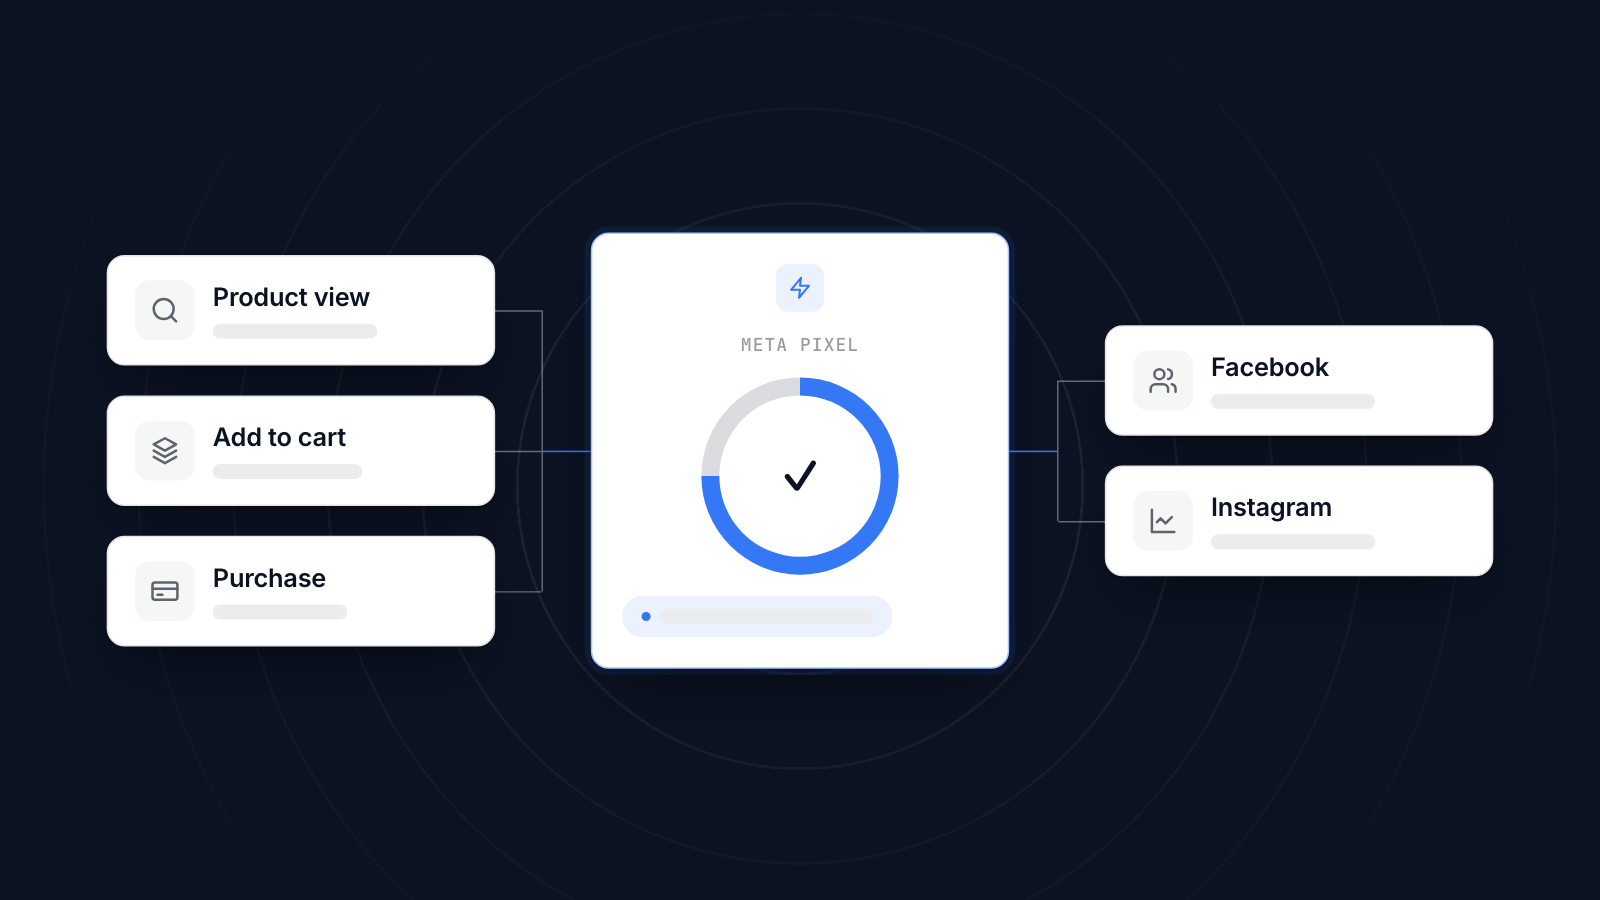
The Meta pixel records actions on your site, such as product views, add-to-carts and purchases, and sends them to Meta.
It is the same tool as the Facebook pixel, renamed when Facebook became Meta.
Use it to track conversions, retarget visitors, build lookalike audiences and optimize campaigns.
On Shopify, install it with the Facebook & Instagram app and add the Conversions API through Maximum data sharing.
Test it with Test Events and Meta Pixel Helper, avoid duplicates, and respect consent rules.
How Meta Pixel Works
The Meta pixel fires each time a visitor does something you track, such as viewing a product, adding it to the cart or completing a purchase. Each time, it sends an event to Meta.
Meta matches those events to its users and to your ads. That tells you which ads led to which actions, and it gives Meta's delivery system data about who buys. Meta then shows your ads to more people like your buyers. Our guide to pixel tracking in Facebook ads goes deeper into how campaigns use the data.
The same events build custom audiences. Someone who viewed a product and left can see an ad for that product later, which is retargeting.
Meta Pixel VS Facebook Pixel
The Meta pixel and the Facebook pixel are the same tool. Facebook renamed the pixel when the company became Meta, and both names are still used.
What has changed over time is what surrounds the pixel. Meta now recommends using it alongside the Conversions API, which sends events from a server, and turning on Advanced Matching, which uses hashed customer details to match more events to Meta users. Both help because browsers and devices now block more tracking than they used to.
If you search for help, use the Meta pixel name: newer guides and Meta's own documentation use it.
Reasons to Use Meta Pixel
The Meta pixel connects your ad spend to results. Without it, Meta can count clicks but not sales.
Track Conversions
When someone buys, signs up or fills out a form, the pixel records it. You can see which campaigns and ads lead to purchases, what your cost per purchase is, and where your revenue comes from, then put more budget behind what works.
Retargeting Website Visitors
Most visitors do not buy on their first visit. The pixel lets you retarget people who showed interest: show dynamic product ads to people who left items in their cart, or customer reviews to people who visited but did not buy.
Create High-Targeting Audiences
Lookalike audiences find new people who resemble your best customers. Build them from purchasers or high-value buyers, and Meta finds people with similar behavior.
Optimize Ad Campaigns Based on Real Data
When you optimize a campaign for purchases, Meta learns from your pixel events who is likely to buy. The more accurate events it receives, the better it targets, which usually lowers your cost per purchase. Your own decisions on budgets, creative and audiences can rest on the same data.
How to Set Up Meta Pixel (Step-by-Step Guide)
Setup has three steps: create the pixel, add it to your site, and check it works.
Create your Meta Pixel in Events Manager
In Meta Events Manager, choose Connect data sources, then Web. Name the pixel, enter your website address, and continue. Meta gives the pixel an ID. Our guide to creating a Facebook pixel walks through each screen.
Add Meta Pixel to your Website
How you add it depends on your platform:
- Shopify: install the Facebook & Instagram app, connect your account and pixel, and set data sharing to Maximum. That also adds the Conversions API. Our step-by-step Shopify setup guide covers it.
- WordPress, Wix and other platforms: use the platform's Meta integration or plugin.
- Google Tag Manager: add the pixel with a tag in GTM.
- Manual: paste the base code into your site's shared header so it loads on every page.
Use one method only. Two methods means every event is counted twice. If you need more than one pixel, for example for separate ad accounts, use an app built for it.
Verify Meta Pixel Installation
Open your pixel in Events Manager and use Test Events while you browse your site: view a product, add it to the cart and place a test order. Each event should appear within seconds. The Meta Pixel Helper Chrome extension also shows which events fire on each page.
Key Events to Track using Meta Pixel
Meta has 17 standard events, including ViewContent, Search, AddToCart, InitiateCheckout, AddPaymentInfo, Purchase, Lead, CompleteRegistration and Subscribe.
For an online store, the ones that matter most are:
- ViewContent: a product page view
- AddToCart: an item added to the cart
- InitiateCheckout: checkout started
- Purchase: an order completed, with its value and currency
You can also create custom events and custom conversions for actions specific to your business, such as using a product quiz.
Common Mistakes to Avoid
These are the usual reasons pixel data goes wrong.
Installing Pixel in the Wrong Place
The pixel must load on every page you want to track, including checkout. On Shopify, code pasted into your theme does not run on checkout, so use the Facebook & Instagram app.
Duplicate Events
If the pixel is installed twice, for example by Shopify's app and by code in your theme or Google Tag Manager, every event is counted twice and your results look better than they are. Keep one installation.
Not Testing after Setup
Test with Test Events and a test order before you run ads, and again after changing your theme, apps or checkout. It is the only way to know the data is right.
Failing to use Standard Naming
Use Meta's standard event names where they fit. Meta can optimize campaigns for standard events like Purchase directly. Custom names need extra setup and do less out of the box.
Ignoring Consent Requirements
Privacy laws such as GDPR and CCPA can require consent before tracking. Use a compliant cookie banner so the pixel only fires for visitors who agree, and keep your privacy policy up to date. Shopify's customer privacy settings can handle this.
MultiPixels installs Meta, TikTok, Pinterest, Snapchat and GA4 pixels on a Shopify store without editing theme code. Install MultiPixels on your Shopify store to run several tracking pixels at once.